
udusan 우두산
의상봉 1038 meters
우두산 1046 Meters
7.2km loop
📍trailhead
I first heard of Udusan because of the newly opened Y-shaped suspension bridge that is featured near the base. I saw a few pictures earlier this year on instagram, of people standing near the bridge, but at that time it was still unopened. This month (October 2020) it was finally opened to the public, so a friend and I went on a weekend hiking trip to check out the bridge and mountain firsthand.
Im sure there are plenty of people who will be more interested in the bridge itself rather than the mountain, so let me start by saying it’s easy to visit just the bridge as it is a relatively short walk along wooden boardwalks to reach it.
There were plenty of families with young children and older folks visiting just the bridge. Below is a map of the bridge area that shows how you can follow the orange line (0.6km) along wooden boardwalks to the bridge and then return on the blue line (0.5km) along more wooden boardwalks and stairs.

As you can see from the map, there is parking available at the bridge area (where the trailhead in the heading above links), however this fills up fast, so unless you are very early, you’ll likely have to park in one of the parking lots in the town that is about 4km away, but there are shuttle buses that bring you to the bridge area.

Shuttle buses to the bridge.
Of course, due to COVID, you’ll have to get your temperature taken before getting on the bus, as well as when you are off the bus and heading towards the bridge. There is a ticket booth next to the buses so soon you’ll have to pay for parking/bridge entrance, however as of now they have yet to start charging people.
Visiting the suspension bridge would still be a fun outing for families. There are several buildings being constructed around the area with things like cafes, as well as a pretty amazing looking playground for kids.
Now for the hike, lemme start by saying that although I have never heard of Udusan until recently, this hike is now definitely in my top 5 of hikes in Korea. If you’re a hiker, and like me, enjoy some rock scrambling/ropes thrown in, you’ve gotta check it out!
The majority of people will be heading towards the suspension bridge on the “orange line”. The hike starts from the same area but follows the “purple line” heading in the direction of the waterfall shown on the map above.
Enter the hiking trail here.
The trail starts out at about 430 meters in elevation and a pretty gentle climb. It’s 1.2km for the first leg of the hike to reach the temple, Gogyeonsa. Along the way, you’ll pass a waterfall, however I didn’t take any pictures of it as there was no signage and I didn’t think it was “the” waterfall shown on the map. The waterfall was kind of meh, but I imagine it would be more impressive after a good rainfall.

Gogyeongsa

From the temple, it’s a further 1km to the first peak, Uisangbong. The trail continues to the left behind the temple area. After a short distance you’ll reach a golden seated Buddha in front of some rocks.

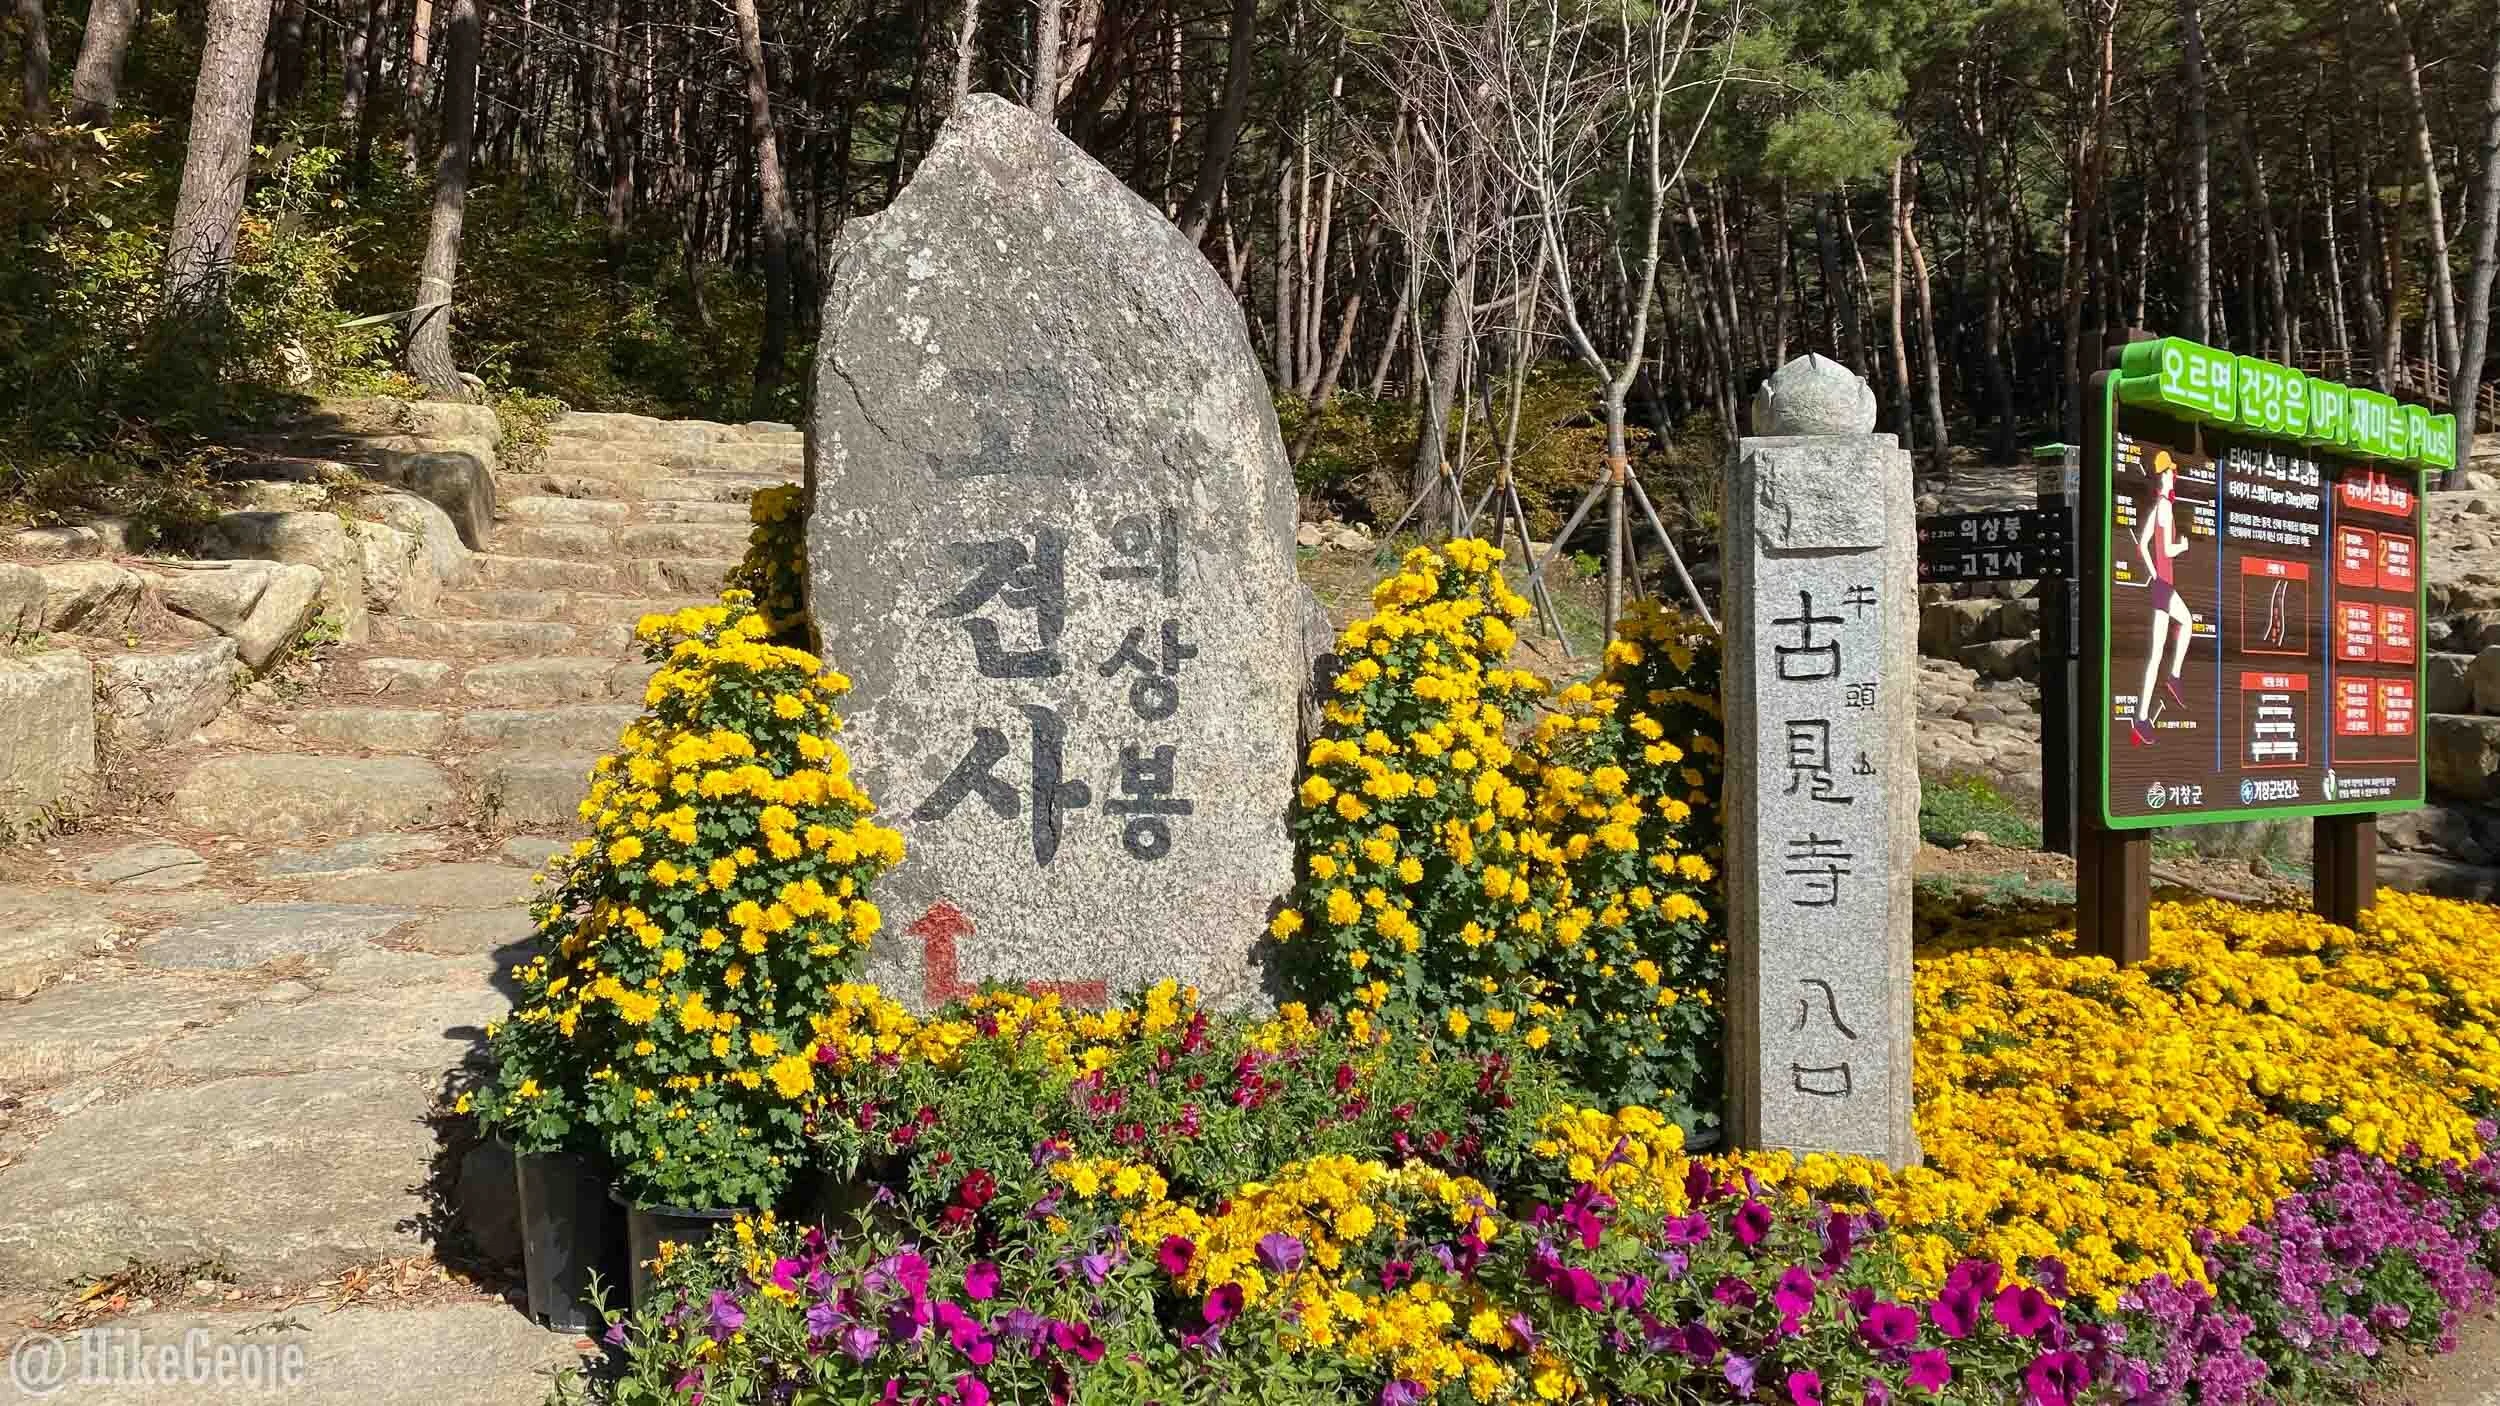
From here, the trail will get steeper and rockier. When you reach the ridgeline there is a small stone located off to the side. At first I thought that this was perhaps the first peak, Uisangbong, but that is still to come. This stone simply said “Udusan” in Korean on the side as well as the temple name, but no elevation marker. Nonetheless, all of the other hikers were stopping for pictures of it, so we did, too! ^^

After this, you will cross over the ridge and go slightly down the other side. Soon you’ll arrive at another ridge where you can turn right or left. First, turn to the right to head up to Uisangbong. You’ll have a whoooooole lot of stairs to climb, but the views all around make it more than worth it.


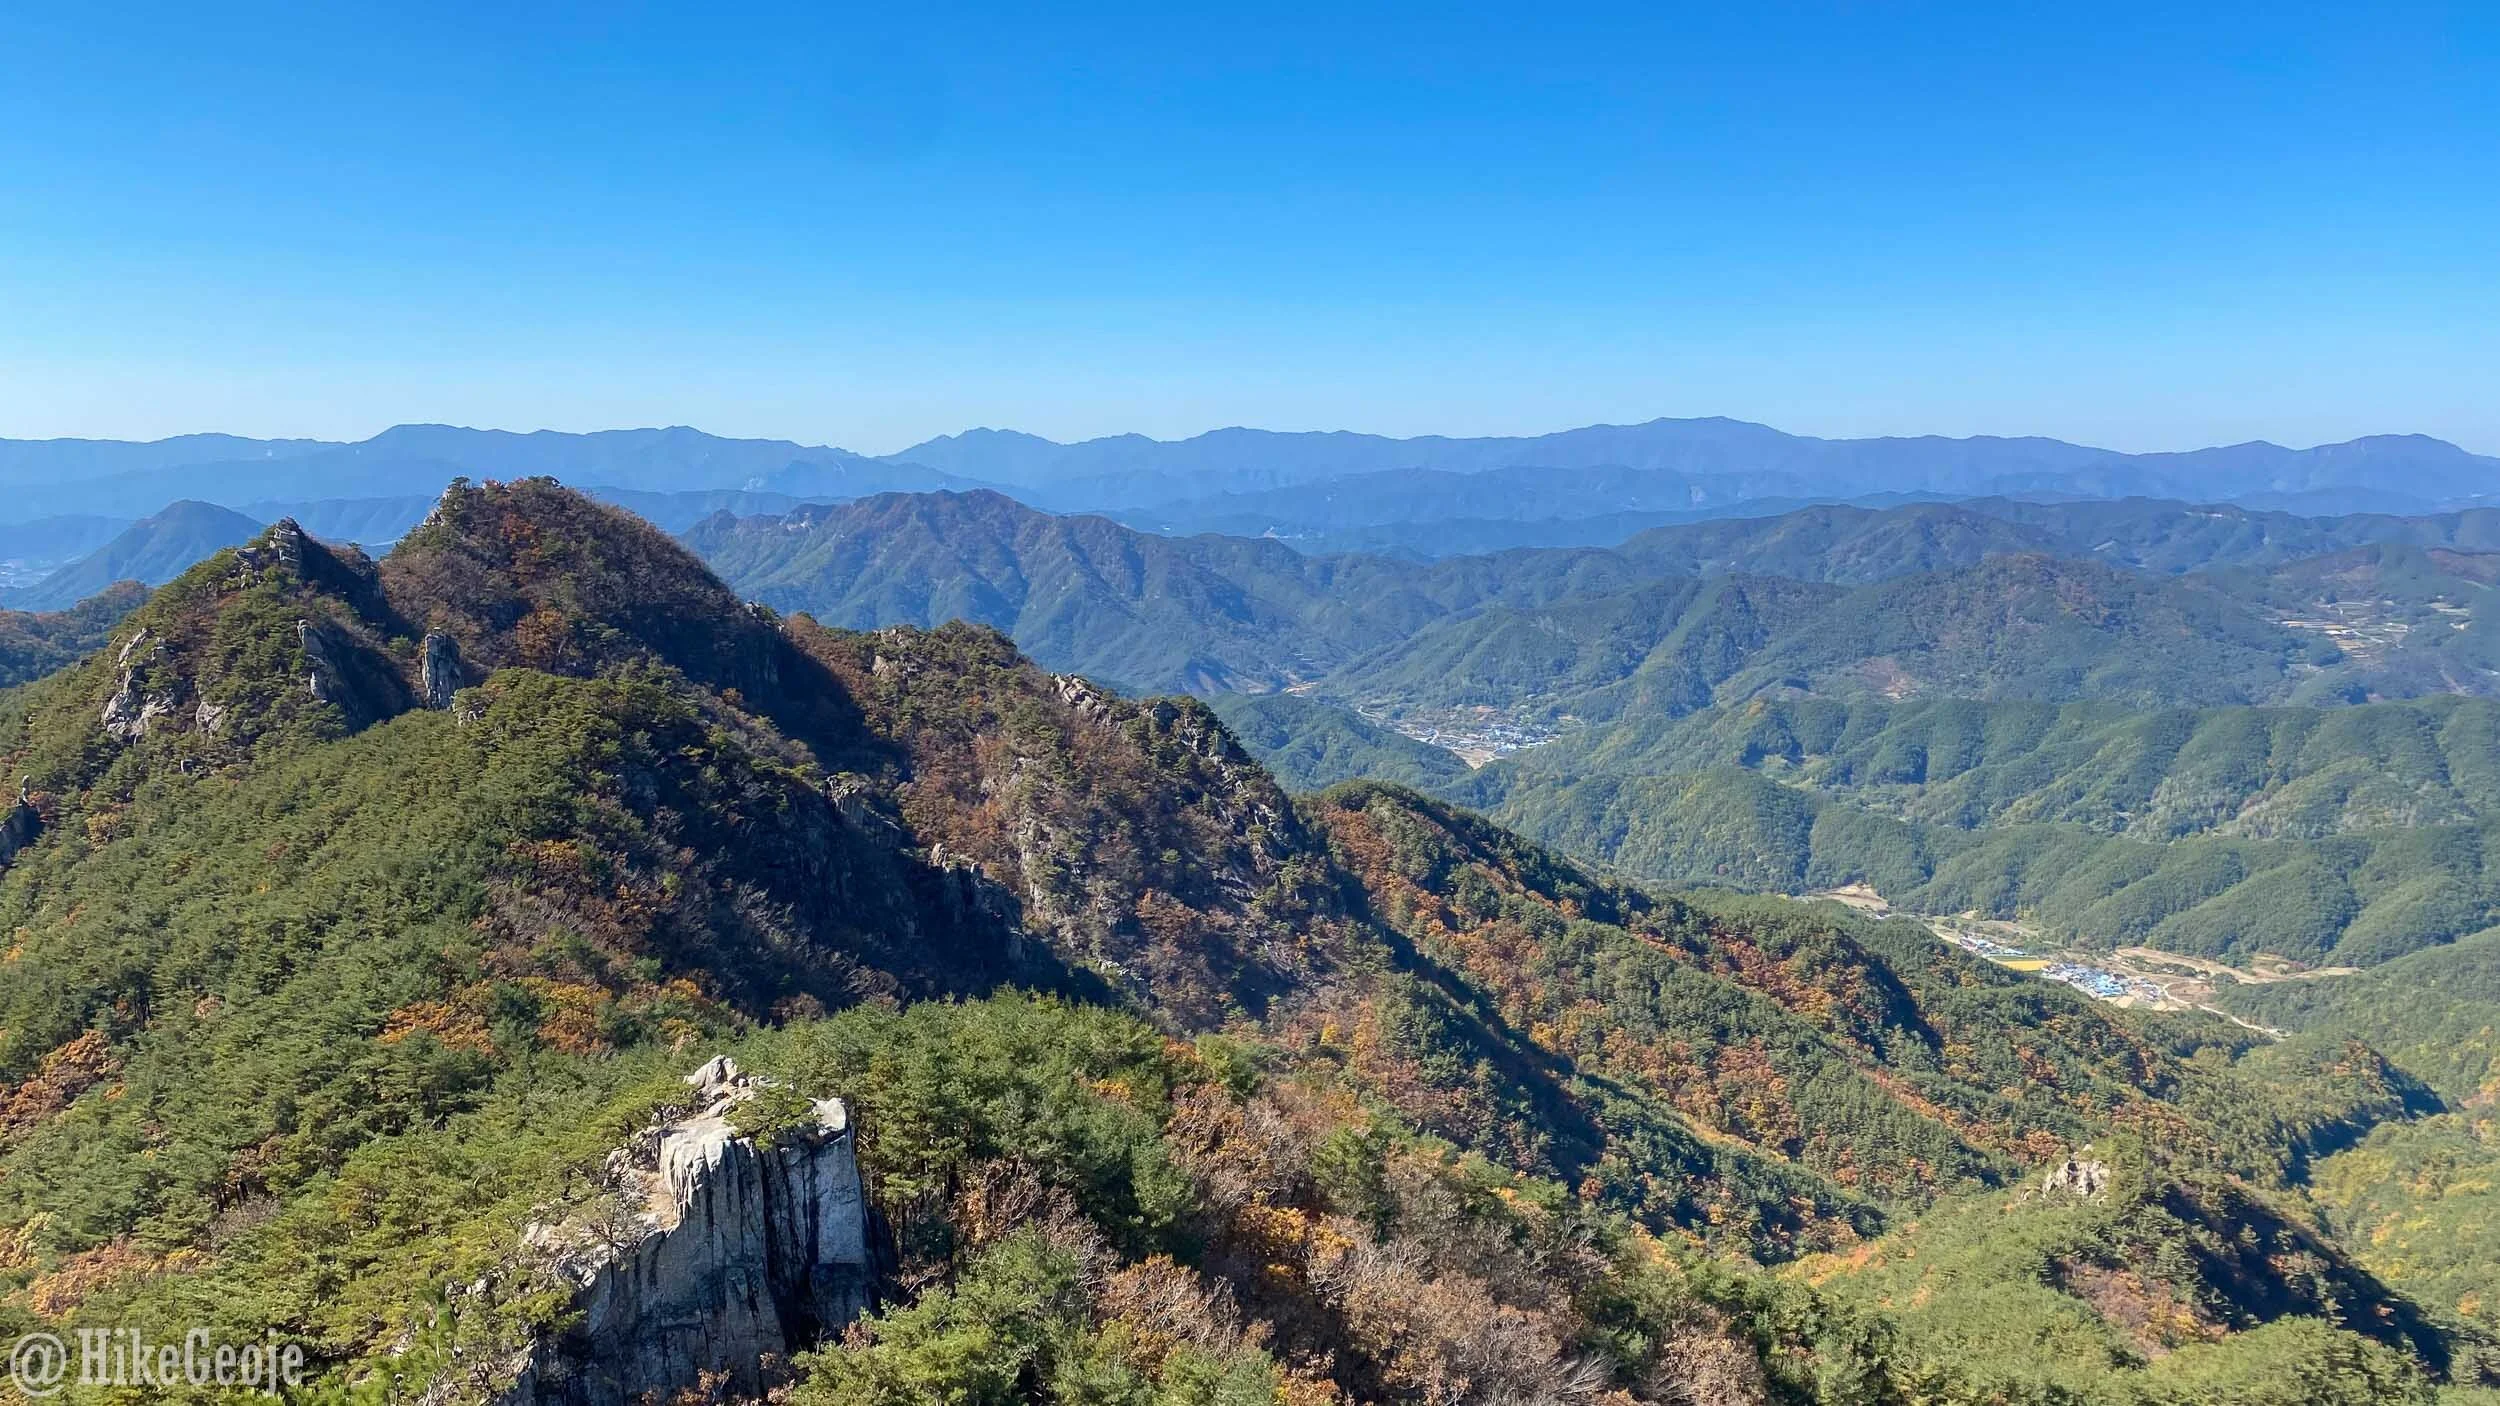
Once at the top of the final set of stairs you’ll have a great view towards the main peak and ridgeline that you’ll soon be hiking over.

Finally, you’ll have reached your first summit of the day, Uisangbong! Behind the summit stone, there are more great views to be had!

As you start making your way back down the stairs towards the fork where you last turned right, you’ll see the rocks and stairs you’ll be climbing, directly across from you. If you look very closely you can see people on the stairs near the center and bottom left of the photo .

As you make your way up the stairs towards the main peak and ridgeline, you can look back at Uisangbong and see where you had just climbed. It really is a neat peak that juts out of the mountain.

Looking back on Uisangbong.
The main peak and summit stone aren’t too far ahead! Make sure you keep your eye out for “elephant rock” on the left just past the summit stone!

Made it to the peak!

Elephant Rock
After 0.7km from the peak, you’ll reach your first junction. You could continue towards the parking lot/suspension bridge by following the sign pointing to “주차장 2.0km”, but if you enjoy a little bit of rock scrambling and more technical terrain (similar to hiking over Saryangdo) then you should most definitely turn left in the direction of “마장재 1.7km”.

This vantage point is looking back in the direction of which you came from. Go in the direction of “마장재 1.7km”.
As you start to walk along the ridge, you can see that there is an amazing view on your left but it is mostly obstructed. Soon enough it will open up and the best part of the hike will follow.

Shortly you will be climbing over stairs, and rocks.


This would be a great ridge for some drone footage, but unfortunately it was too windy on this day to use my drone. I guess I’ll just have to come back again for round 2!


A short distance after the open ridge, you’ll reach another junction. At this point, we opted to turn right and start heading towards the bridge and the parking lot.

Turn right here.
It was quite steep and rocky at first as we made our way down a river bed, but soon the trail mostly flattened out. There is one more junction to pass where the trail merges with the other trail that you could have taken had you wanted to bypass the rocky ridge. Continue straight to end up at the Y-shaped suspension bridge.

From the hiking trail, you’ll emerge on the platform to the left. There will be staff at each point of the bridge, presumably to limit the amount of people on the bridge at once. You can go to each point for photos. From the vantage point of the above picture, it was the end of our hike and we simply followed the wooden boardwalk back to the shuttle bus.
Overall, Udusan was such a great mountain for being a bit off the radar (at least for me). I really recommend checking it out if you have the chance. I had such a great day and am already looking forward to revisiting this mountain for hiking again!