
paryeongsan & Its 8 peak ridgeline 팔영산
Peak 1: 유영봉 491 meters
peak 2: 송주봉 538 meters
peak 3: 생황봉 564 meters
peak 4: 사저봉 578 meters
Peak 5: 오로봉 579 meters
peak 6: 두류봉 596 meters
peak 7: 칠성봉 598 meters
peak 8: 적취봉 591 meters
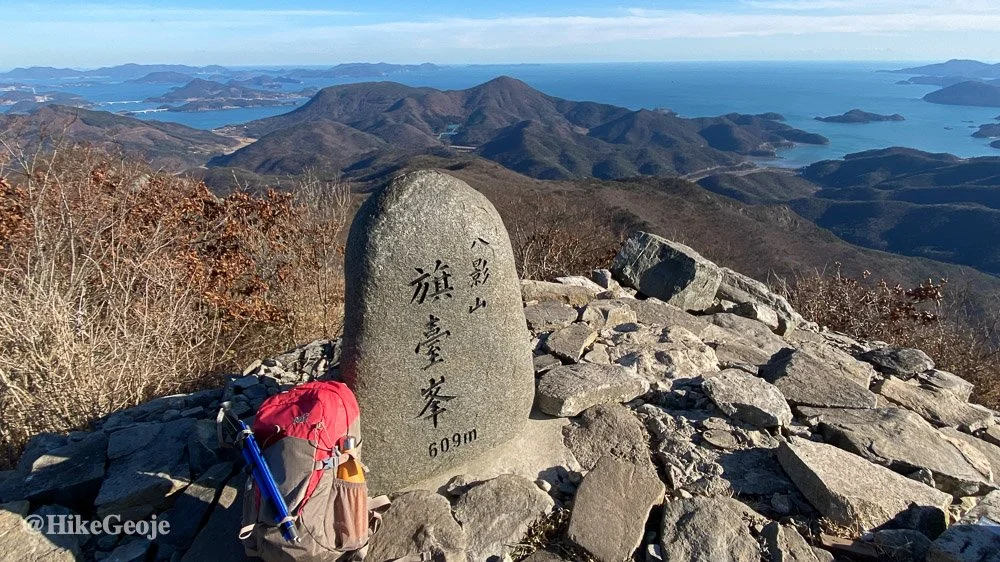
paryeongsan summit 깃대봉 609 meters
Approximately 6.6km loop
📍trailhead
Let me start by saying that this hike is not for the faint of heart. It’s not a terribly difficult hike in regards to distance or elevation, but there were definitely some parts that had my heart pounding with adrenaline and wondering what I got myself into. Disclaimer: I saw so many pictures of this mountain prior to hiking it, and although many were amazing, none of them really were able to do it justice. Although I tried my best, mine fall into this category too. The only solution is for you to go and experience it yourself in all its glory.
This has become my new favorite hike in all of Korea, knocking Saryangdo out of first place. Although I’m still a bit nervous about hiking one particular part of it, I can’t wait to go back again with friends.
To start, from the parking lot head towards the Neunggasa (Temple) at the end of the street and hang a left. Walk a bit further up the road, passing the campground and soon enough you’ll reach the trail entrance. (It’s about a 700 meter walk from the parking lot to the trailhead.)
Upon entering through the trail gates, almost immediately you should turn right. From here onwards, the trail is quite easy to follow and well marked with signage.
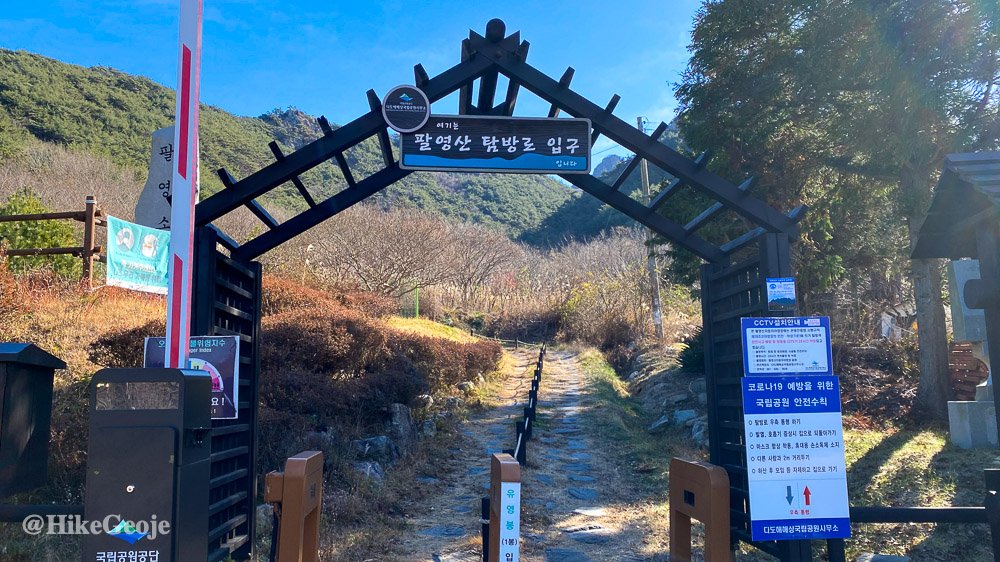

Go right here.
The route I took hit up each “bong” in order from 1 through 8 before finally getting to the summit and looping back. Although you could take the route in reverse, I definitely would not recommend it. There’s a dangerous part of the trail at “peak 6” and I couldn’t possibly imagine having to go down it rather than up.

My route.
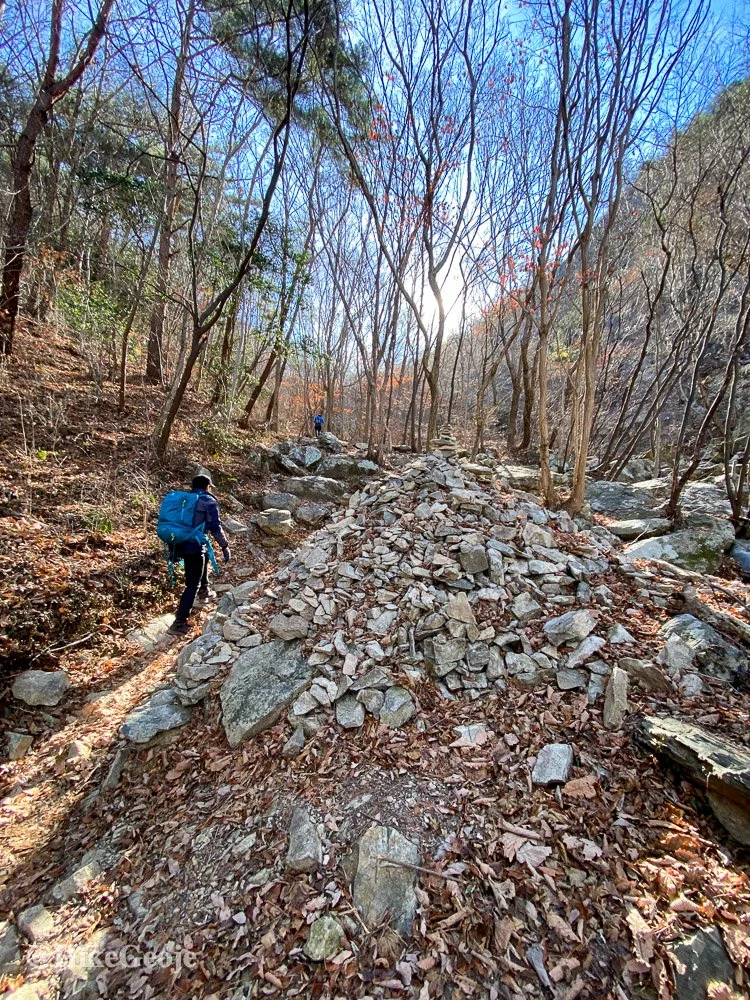
There’s not a lot to say about the first leg of the trail. It’s not until you reach the first peak that the fun really begins. You’ll pass Heundeul Bawi and then not have much further to go before climbing onto the ridgeline.

Once at the first peak, you’ll get a view of what’s to come.

Almost there!

Peak #1
I can’t even describe the excitement of looking at the trail ahead and what was in store.

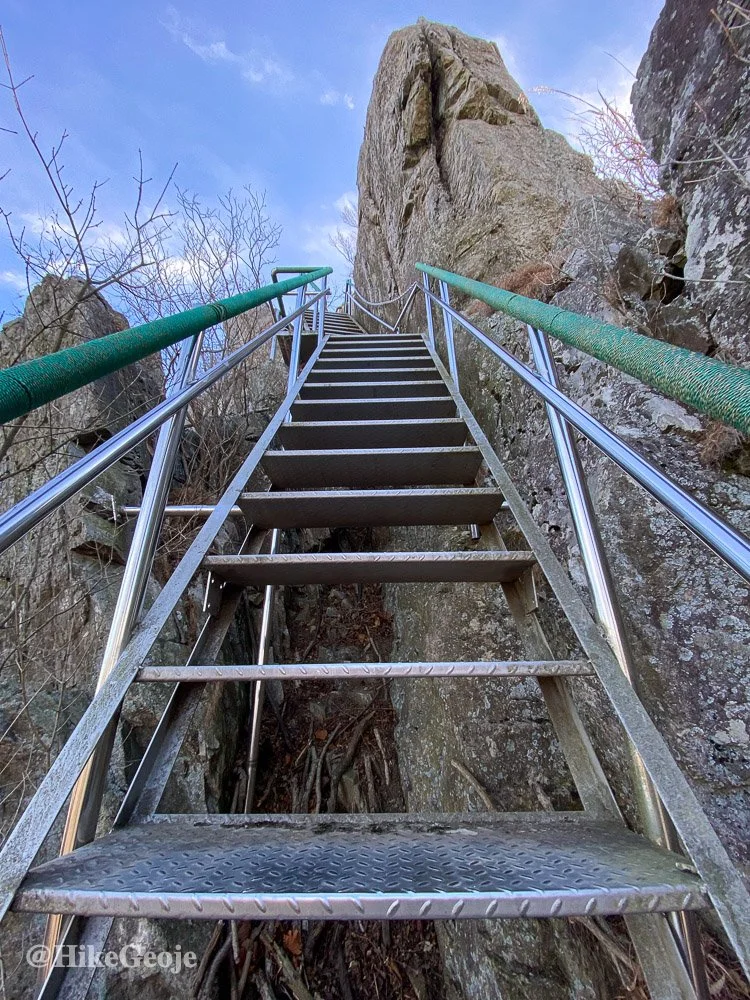
You gotta zoom for this one! Check out all of those stairs!
From here, it’s only 0.3 km to the second peak.
As I started climbing the stairs, the adrenaline was pumping, but it was in excitement. No real fear as of yet…but that would come.
Some of the steps were quite high and required some maneuvering.
For reference, I’m 5’6” (167cm).
Another peak down! I already felt like the hike was going too fast and I didn’t want it to end!

Peak #2
A little more scrambling and I was at Peak #3 before I knew it.


Peak #3

From Peak #3 you can see the remaining peaks, as well as the summit off in the distance next to a radio tower. The sun was shining in that direction, so most of the pics I took looking that way were quite hazy.
Down and up some stairs and you’ll be at Peak #4.
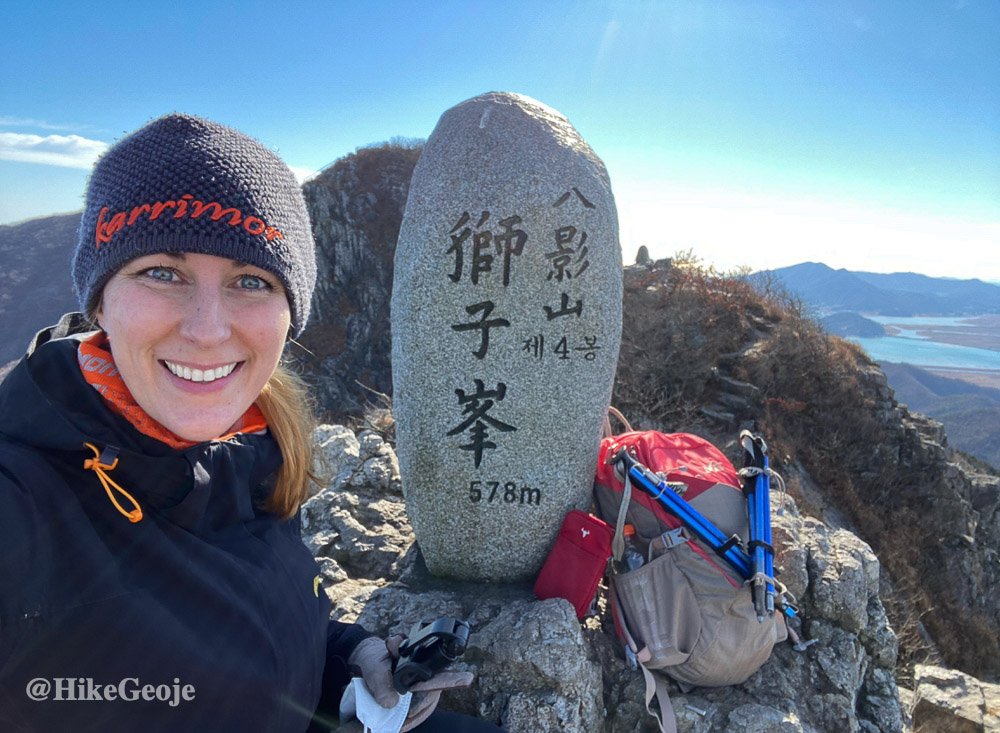
Peak #4
From the pic above, you can see the summit stone for Peak #5 in the background. Damnit, this hike was going by too quickly!
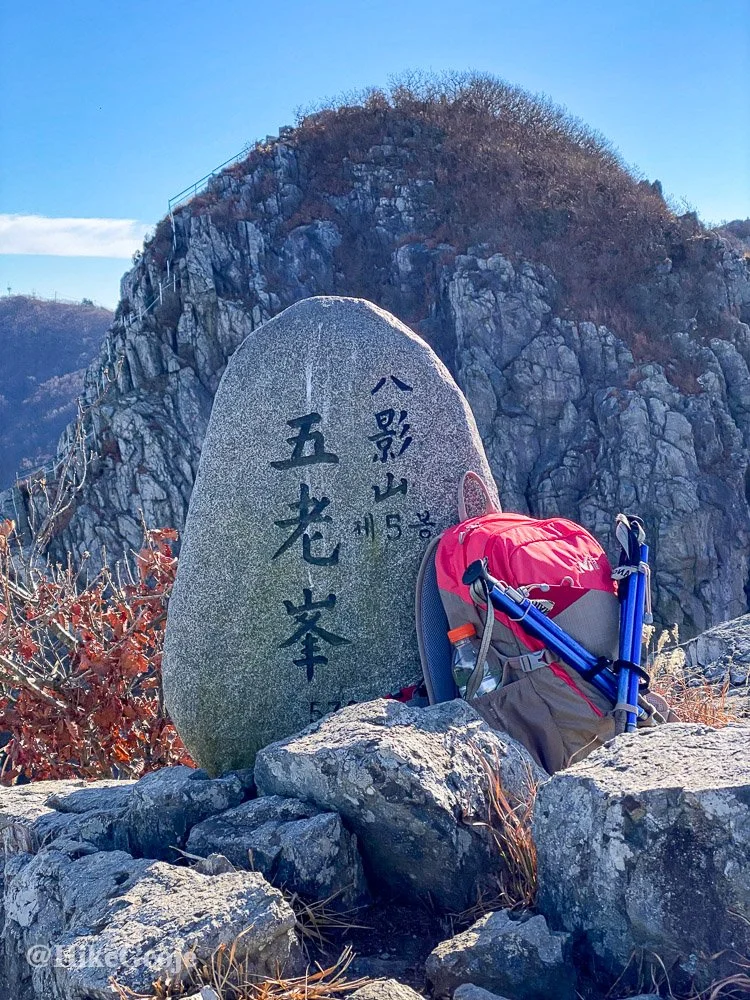
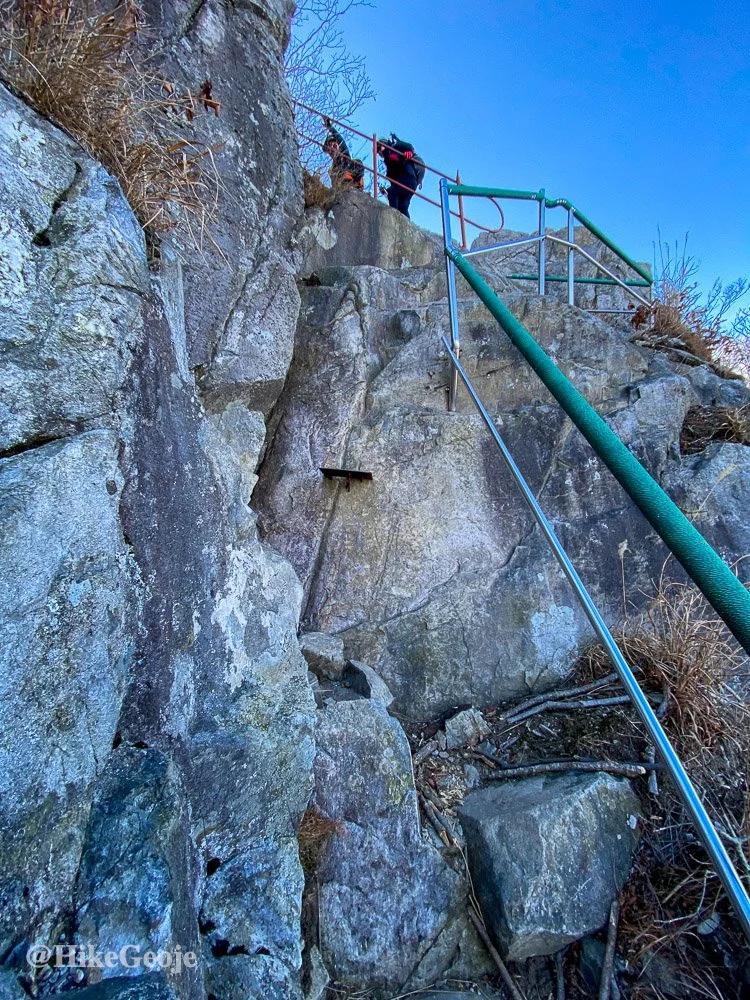
Alright, here is where this hike gets serious. You can see the next section ahead in the background of the Peak #5 summit photo. From here, I just assumed there were stairs there. Allow me to zoom in a bit.

It still didn’t look overly precarious from a distance, But let me tell you, that middle section especially, going up was terrifying. I generally love being perched on the end of rocks with big drop-offs, but I felt truly scared going up. It took everything I had to just stay calm.


At the top, of peak #6 I took a little lunch break and tried to relax a bit.
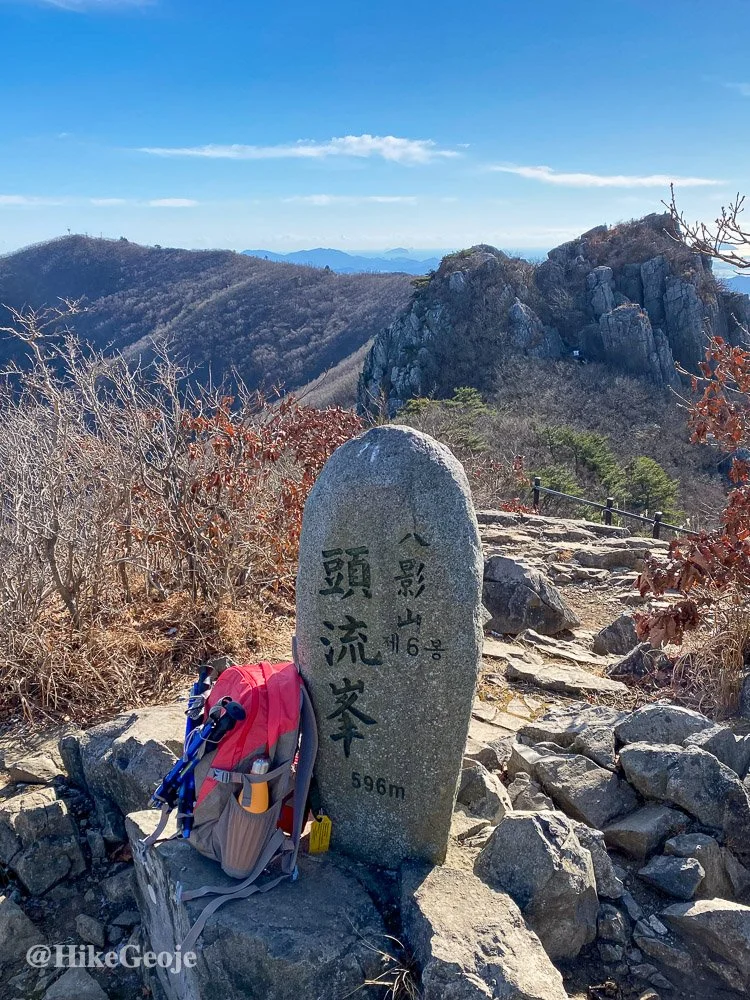
Peak #6
There are some great views looking back…
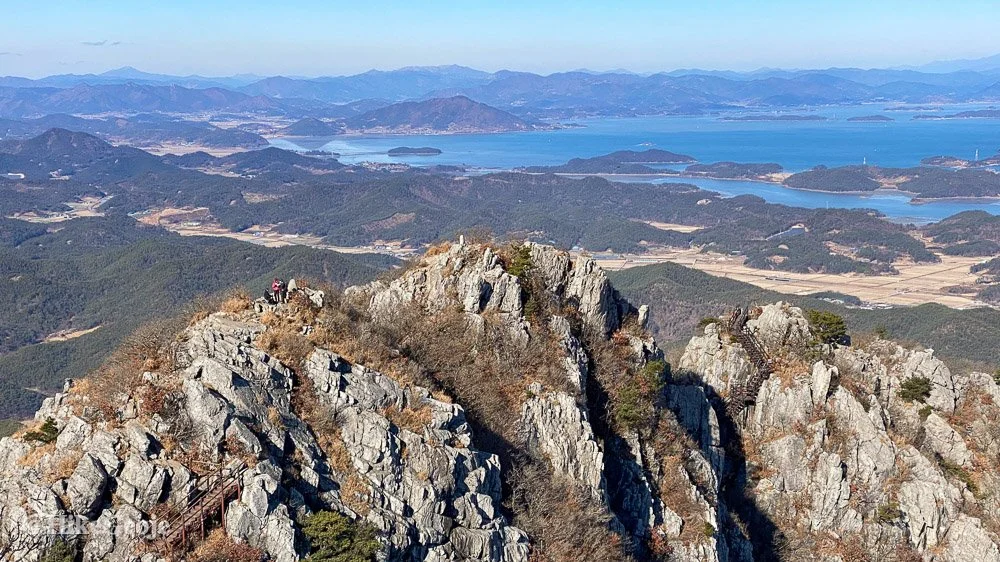
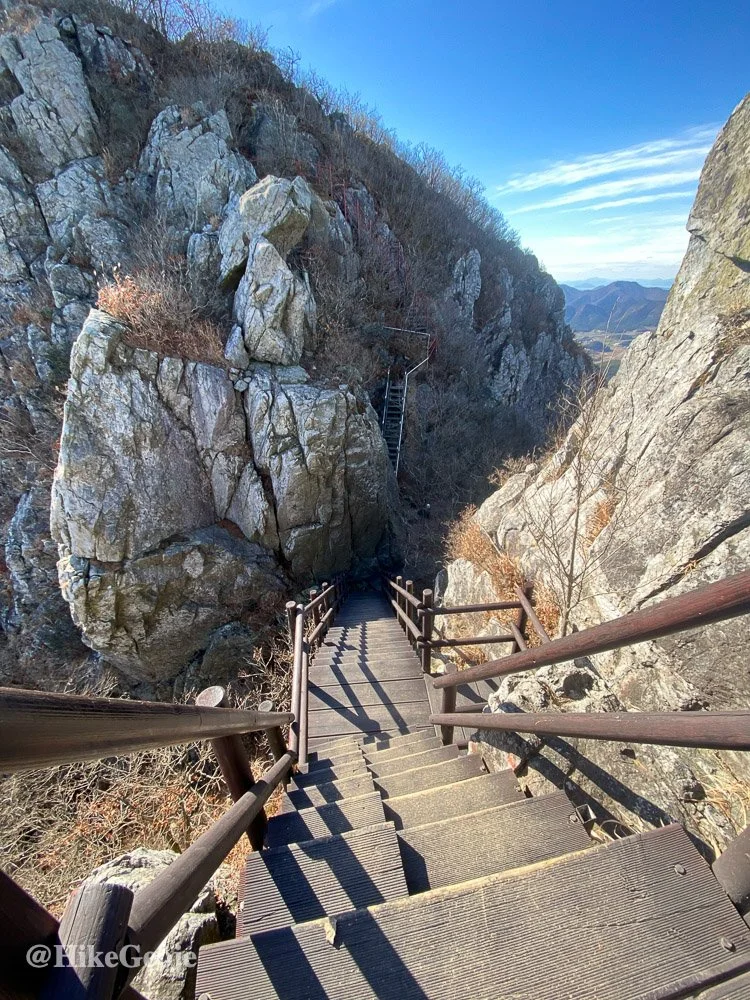
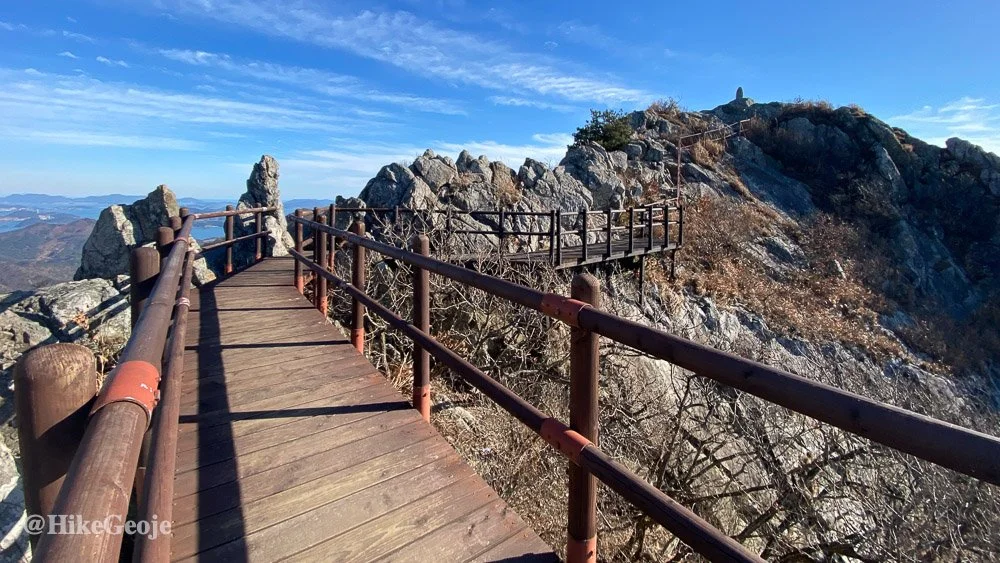
The end of the ridge, along with the summit are not too far off at this point. I was very happy to find regular steps leading down off Peak #6. Perhaps I’m not as brave as I like to think I am. ^^

Looking forward.
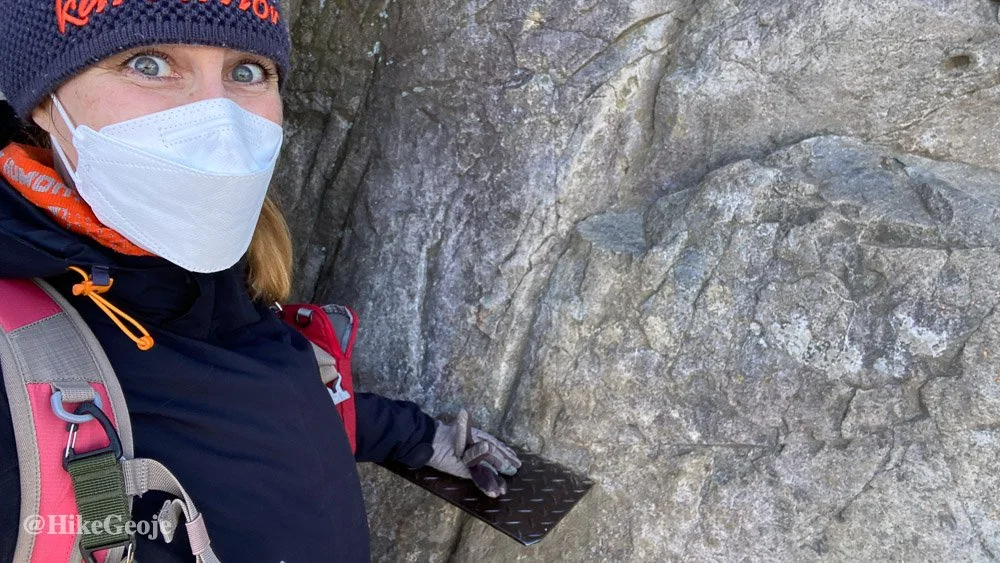
Once near Peak #7, you’ll have to walk under a pretty big rock.

Peak #7 and just one more to go!
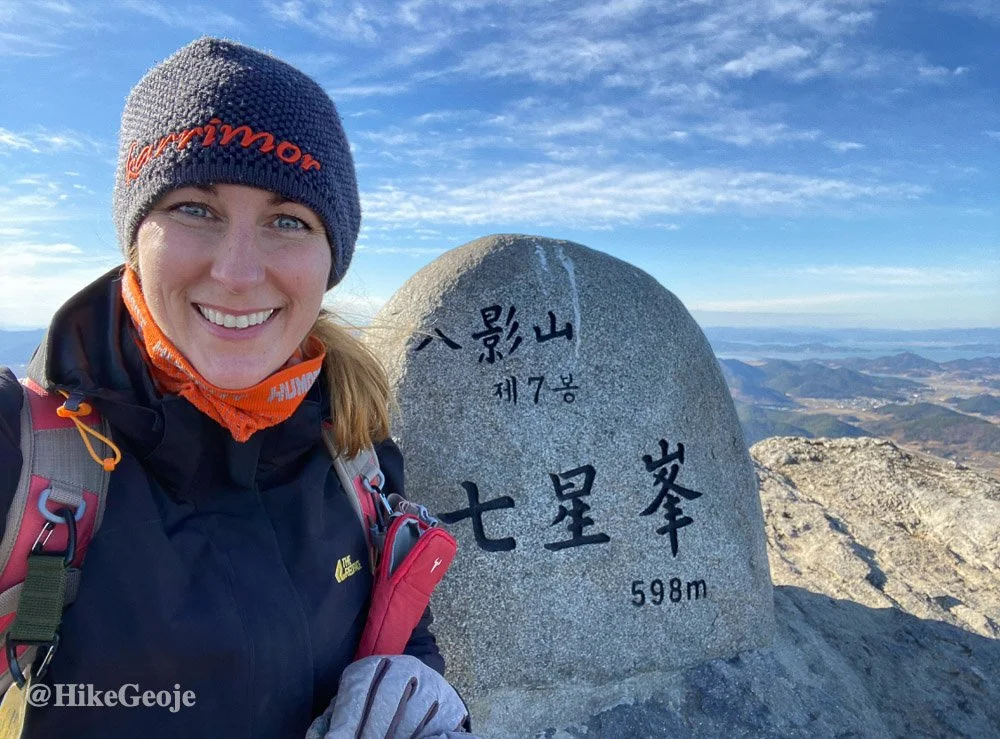
Peak #7
Like much of the rest of the trail, the section between peak #7 & #8 will go quickly.


Peak #8
Coming down from Peak #8, the trail goes both right and left. The left leads to the summit, which in all honestly is not as exciting as the 8 peaks along the way. However, it’s only 0.5km and looked to be very easy terrain from this point on, so I definitely didn’t want to miss it. You will have to back track to this same location to start making your way down off the mountain, looping around the front.

Go left here to the summit, then return to this same spot to loop back to the parking lot.

Stay to the left.
You’ll get a view looking back at the entire ridgeline before arriving at the summit.

I won’t bother posting any pictures of the trail down off the mountain because to be honest, it was boring as shit. Still had an absolutely amazing day and was happy to get my post-hike beer and relaxation.