
mudeungsan national park 무등산 국립공원
seoseokdae (Rock) 서석대 1100meters
jungbong 중봉 915 meters
jangbuljae 장불재 919 meters
13KM Return
📍Trailhead
At some point in 2019 I decided I wanted to hike all of Korea’s 22 National Parks. But first… I gotta reach the highest peak of the 17 “mountainous national parks”! With this in mind, Ashleigh and I planned a weekend trip so I could knock two of them off my list: Wolchulsan on Saturday (Ashleigh & Me) and Mudeungsan on Sunday (Solo).
I didn’t really do a lot of research into choosing the route for Mudeungsan; I just did a quick google of the highest peak in the park and figured I’d plan my route the night before. Big mistake!
Seeing that the highest peak was Cheonwangbong, I set off for the the park entrance ready to make my way to the top. Upon arrival, I noticed that none of the signs pointed towards Cheonwangbong, which I thought was strange considering it is the highest peak. Spoiler Alert: I found out a bit later that Cheonwangbong is indeed the highest peak, but it is not accessible due to it having a military base on top. Lucky for me, the second highest peak was just steps away rather than on a different ridgeline. Standing at 1100meters, just 87 meters shy of matching the highest peak, is Seoseokdae Peak, making this the highest accessible peak in the park.
When I first arrived at the park I was still unaware of all of this so I ended up studying the map in hopes of finding signs pointing in the direction of something near Cheonwangbong. And let me tell you, it was “studying”. There are so many interconnected trails near the top it was like a Tokyo subway. It was quite early in the morning and there were only two other hikers heading off so I opted to just follow them and see what happened. Yeah yeah…I know.

I ended up on the green switchback line on the right, which was mostly roadway and ended up making the hike much longer than necessary.
So this blog post is definitely not a how-to, rather it’s just my own memory, and hopefully you can learn from my mistakes and plan a nicer route up.
If you want to get a proper hike in, rather than following my haphazard route, almost immediately after the gates, there will be a large stone on the left with some rocky stairs going into the forest. From there, it’s only 3.9km to Seoseokdae Rock, and I presume a proper trail. Much better than my extended roadway hike.

This is where I should have turned.
I ended up following a roadway for most of the way up. I found this quite boring with only one good view of the city near the top. Despite being much longer than taking the “proper trail”, I had the benefit of being able to hike at a relatively quick pace due to easier terrain, but it was still a big elevation gain.

A pretty great view of Gwangju in less than great weather.
Brrrr!
Finally, nearing the top, I could see the peak and the outline of Seoseokdae Rock further ahead. There are plenty of interconnecting trails near the top, so I opted to turn right and head to Jangbuljae first. This is a great peak to stop at in the middle of a wide open ridgeline with views towards Seoseokdae (shown in the cover photo).

Jungbong Peak.
It was very cold up there though with the December wind blowing across the mountain.

That’s Seoseokdae behind me.
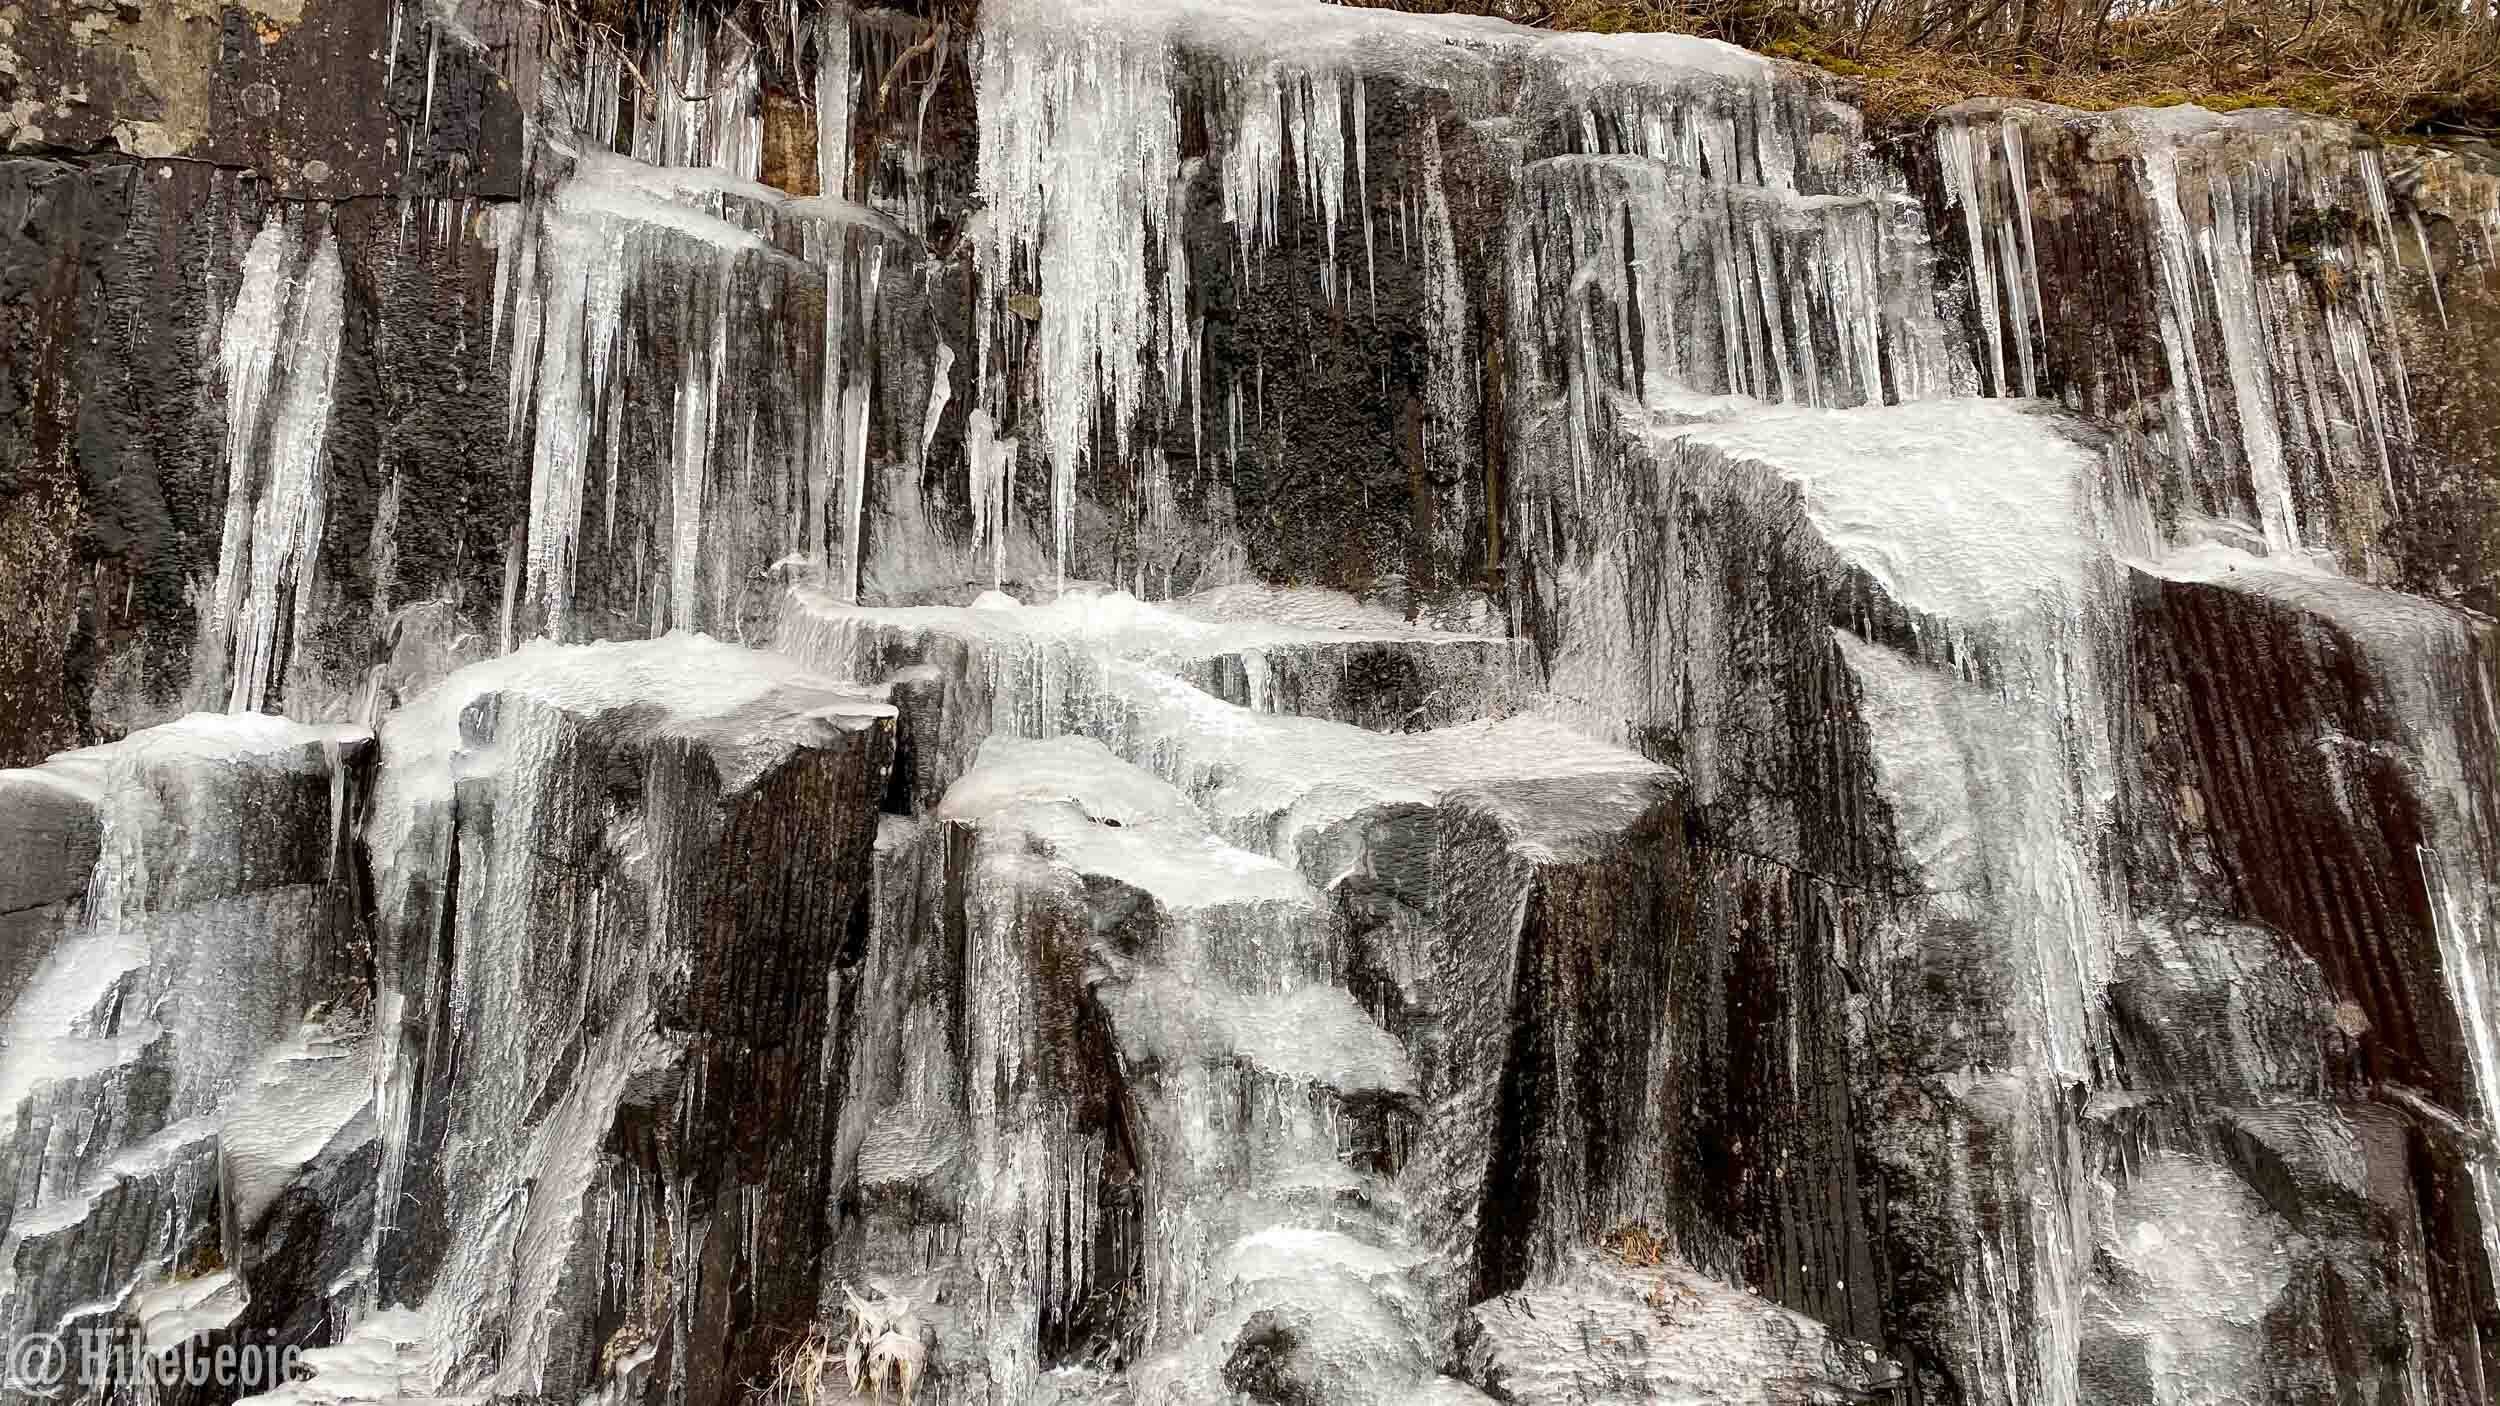
From here, I started walking in the direction of Seoseokdae until I joined up with the roadway again and then quickly entered a trail behind a wooden ranger station. It’s only about a half a kilometer from the ranger station to the peak, but make sure you take the offshoots on the way up to get a nice look at Seoseokdae Rocks as you’ll be climbing up and over them. The rocks themselves are quite unique; they are layers of sedimentary rocks that formed as a result of volcanic activity here about 85 million years ago.


Seoseokdae Rock
Finally, once you reach the top, you’ll find the summit stone and a trail leading down the other side of the mountain, opposite from where you approached.

The “real” peak is so close behind me, but has restricted entry.
Following the trail down the opposite side, you will pass over Ipseokdae Rocks, which are another set of volcanic rock columns that run down this side of the mountain.

Ipseokdae Rocks
At the bottom of this section of trail is a shelter, some bathrooms, and a summit stone for Jangbuljae Pass. I decided to take a little break here and try to warm up with some ramyeon before getting a picture with this summit stone and making my way back. From here, you can follow a roadway that will lead back up the mountain to where you previously turned off by the ranger station.


Jangbuljae Pass
It was a bit of a long boring hike, but I’m so glad to have another one crossed off my list, Perhaps when I’ve completed all of the national parks I’ll give this one another go in better weather and take a nicer trail.