

mosanjae 모산재
767 meters
4.4 km loop
📍trailhead
I already had Hwangmaesan on my ever-growing bucket list of hikes, but had no idea about Mosanjae, which is part of the same mountain range. That is, until I saw an instagram pic and asked about its location.
Overall, this is a relatively short hike. Also, based on topographic maps, you start at about 350 meters, so that means you won’t have too high of a climb either.
In the parking lot, there is a great map that showed the different courses for Hwangmaesan. I’m glad we saw it, because I had planned on hiking the same route (1 코스), but in reverse. It is definitely better to follow the suggested route instead. In the photo below, the parking lot is shown in the bottom left corner and the trail head is a quick walk from there.

Click to enlarge.
As you can see, at just 4.4km it says 2.5 hours as the estimated time. It is definitely possible to complete this hike in that time frame, but given the views along the way it’s not likely. We took a very leisurely 5 hours, stopping constantly for pictures, videos, drone footage, and snacks.
The trail officially begins on a smaller road that turns off from the main road. It’s just 1.7km to the peak from here. Be sure to use the tick repellent spray machine to the right of the trail entrance.
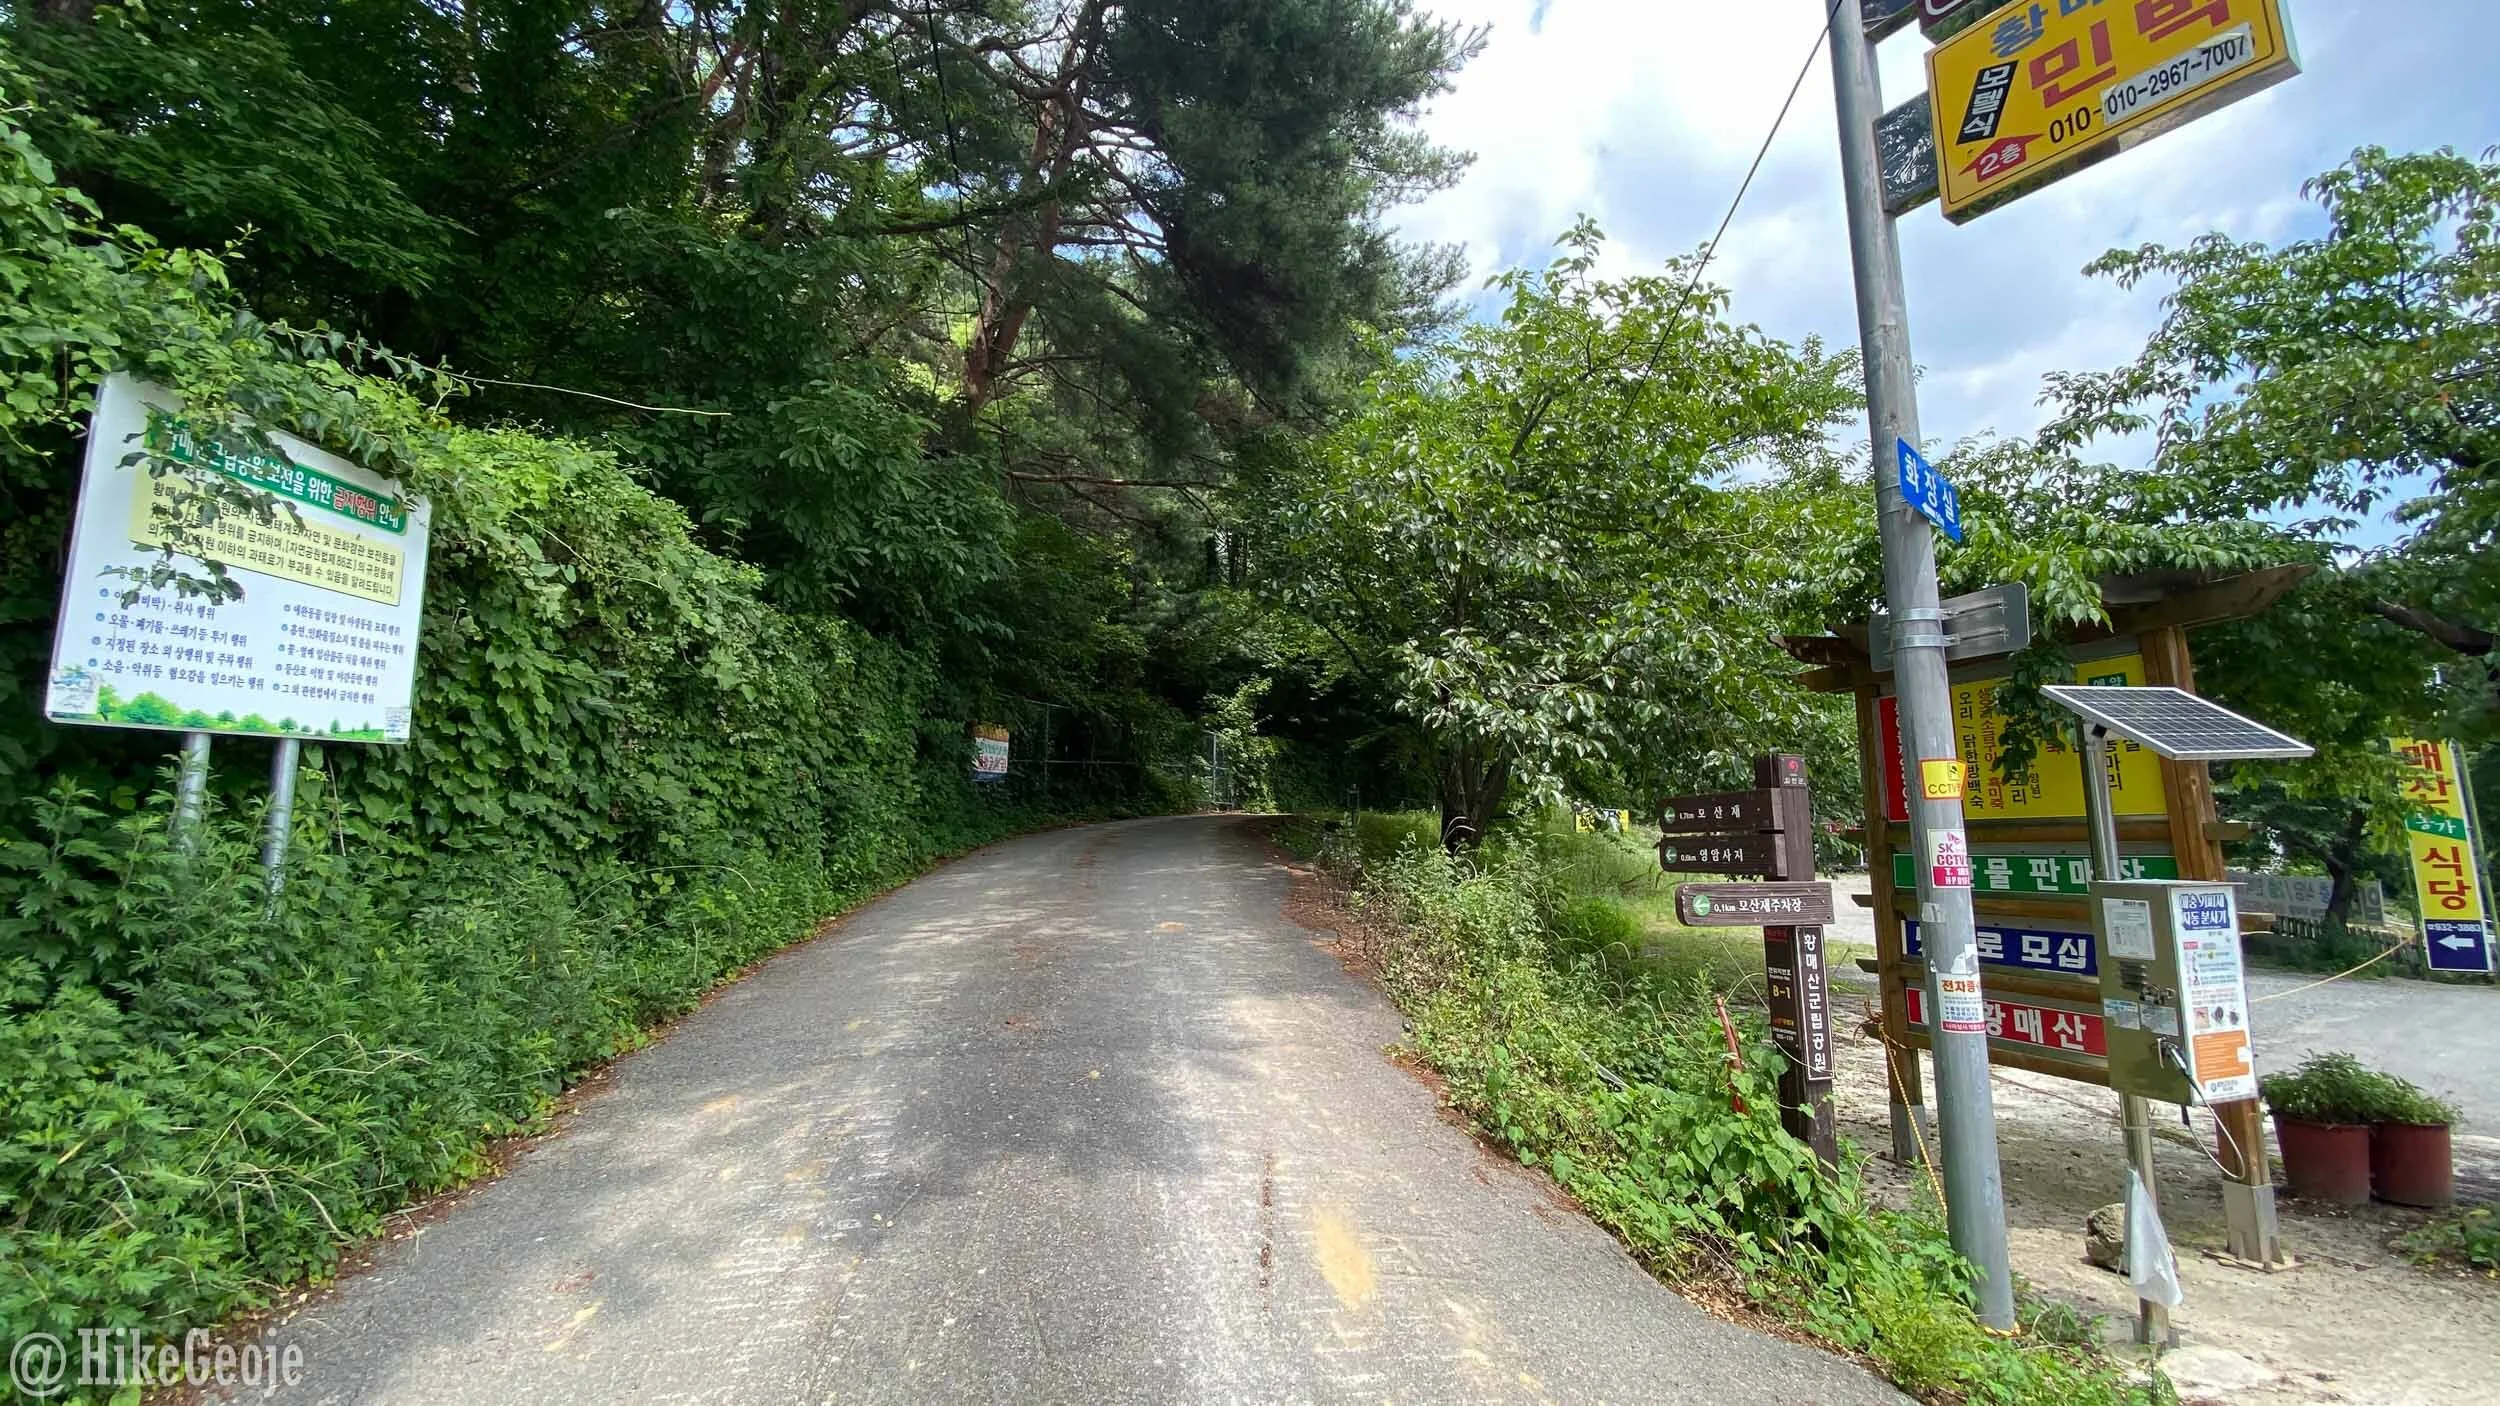
Turn up this roadway.
Follow the roadway for 0.5km before reaching a food/drink hut where you will turn left into the forest.

Enter the forested trail here.
Starting out, the trail will be a bit steep and shady, covered by trees. However, it won’t take long before you climb up higher where the trail is mostly rock, with no trees overhead. This will make for a very hot hike on clear summer days, but also a potentially dangerous hike in winter as ice builds up.

You’ll encounter lots of ropes along the way to help you up and keep you safe. Sometimes pictures don’t seem to reflect how steep some parts are, so if there is any uncertainty, this is definitely not a hike for children.

Out of the forest and ready for the rocks!

Taking an easier rope on the side of the rock.
One of the first ropes we came across, I thought “oh shit, this ain’t gonna be pretty”. My upper body strength is terrible and I though that if I took off my backpack maaaaybe I could climb up, but I was starting to get nervous that I may have bitten off more than I could chew. It turned out there was a slightly less steep spot on the side of the rock (that also had a rope) that I could climb up instead. So although there are a lot of ropes on this course, they are mainly there to make things easier. A person who is averagely fit can complete this course even without a lot of upper body strength.


My new hiking gloves came in pretty handy.
As you are climbing up, you’ll get some pretty incredible views of the countryside behind you as well as the ridgeline that you will traverse, across from you.

Can you see the people walking along the ridge?

In my happy place!
Before long, you’ll reach that looooong set of stairs that you saw in the cover photo. They aren’t as bad as they look and soon you’ll be enjoying the views from above.

Looking up.

From the top.
At the top of the stairs is a large open area with Dotdae Rock. This rock is supposed to symbolize strength and power.

Andrew standing next to Dotdae Rock.

Standing next to Dotdae Rock to take in the views…this is as close to the edge as I was willing to go!
From here, the peak is just 0.4km away. Looking across from you, it’s neat to see the other hikers walking along the ridgeline. I was starting to get a bit nervous at this point about walking on that ridgeline, but thought if they could do it, I could do it!
Climbing up over the rocks can be a little scary at times because the “trail” is less obvious. As a hint, (obviously, stay away from the edges) look for where the rocks have a slightly whitish color as this will show the path that most people take.
From Dotdae Rock, climb up and over the rocks that are behind you while facing it. Then you’ll enter a small wooded area that continues to the right. Be sure to continue heading towards Mosanjae (모산재). On the left, there is turn-off to reach the peak of Hwangmaesan, but then you will miss the rocky ridgeline so save that for another day.

At the peak!

You can actually see this from Dotdae Rock.
From the peak, look for all the ribbons in the trees straight ahead to find where to re-enter the trail. You’ll walk through the trees for a very short distance before reaching the rocky ridgeline. I was very thankful that it wasn’t too windy for my drone so I was able to capture part of it from above.

Loving the ridgeline!
It goes without saying, but I’m gonna say it anyways. Take your time along this ridge. And once again, if you’re not sure where to go, stop for a minute and look for where the rocks are slightly whiter. The photos may not show it, but it drops off on BOTH sides of this ridge.
Eventually you will reach Chastity Rock. Andrew was referring to this rock as “Butt-crack Rock” during our hike, but I found out its proper name and meaning from my boss after the hike. Apparently, the legend says that the rock is like a test to determine someone’s promiscuity. If you want to find out if your new man is a “womanizer” you should take him here. He should try and climb between the rock (or dangle his legs in the crack) and if he is a true womanizer then the rock will close up on him. Same goes for the ladies apparently! ^^

Chastity Rock
After Chastity Rock, keep heading in the direction of Yeongam Temple (영암사지). From here, the trail will soon be more forested and you’ll have a series of stairs and ropes to make your way down.


You’ll reach another food/drink stand near the bottom. Hang a right here. Then you’ll bypass Guksadang, a small rock structure.

Go right.

Guksadang
You’ll have one more junction in which you’ll continue right and then walk across a grassy field that feels as though you’re headed into someone’s backyard.

Straight this way!
This leads to the Yeongam Temple grounds.

Yeongamsa.

Continue to the right here! Don’t follow the road that is to the left (not shown in the picture).
Follow the semi-circle around the large field pictured above, then you’ll have a short walk back to the original point on the road where you first turned into the woods next to the first food/drink hut.
Overall, this was an amazing hike and such a fun day. I really recommend visiting Mosanjae if you have the chance!